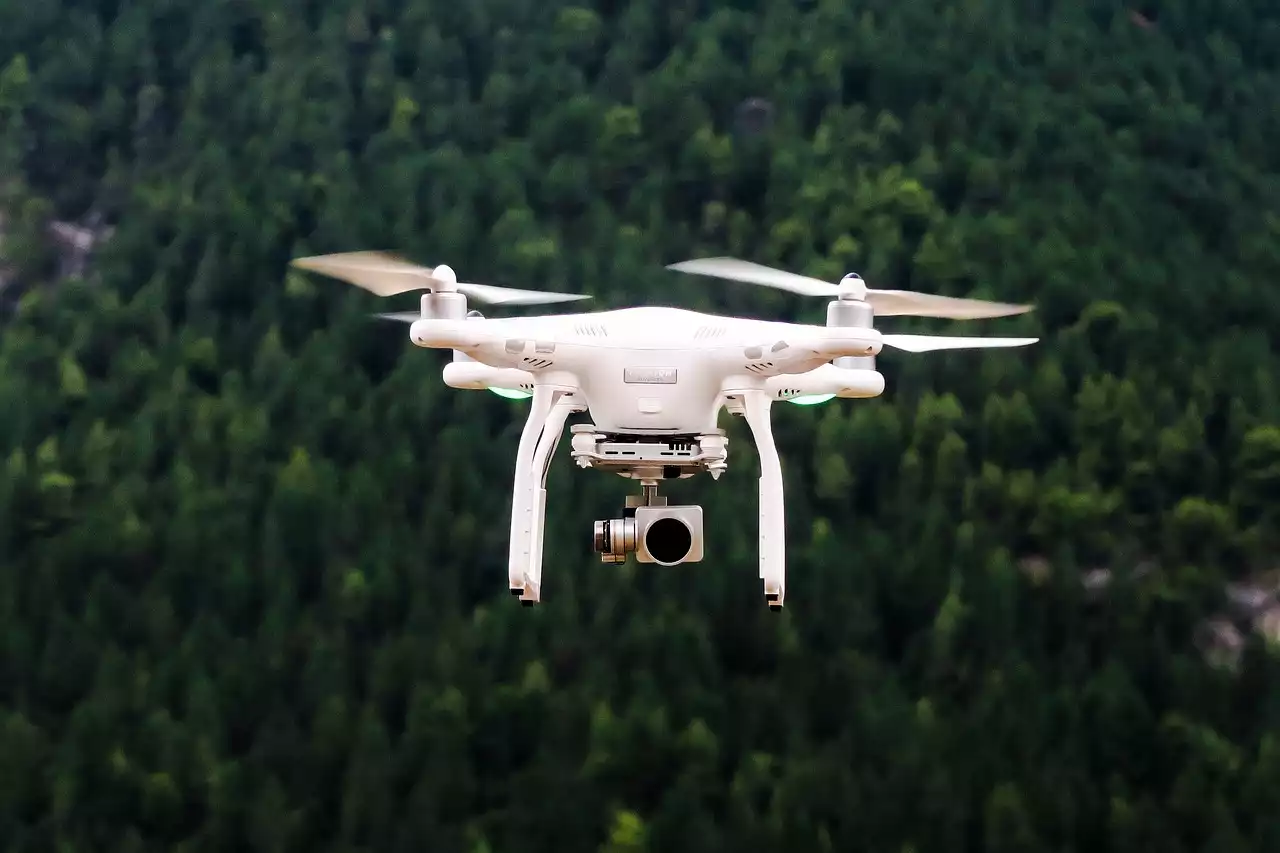
What You Need to Build a Drone
Before you can start building a drone, you need to collect the right parts and tools. For this project, you will need the following:
- A drone Frame: A drone frame is the structural support of your drone. It is the part of the drone where all the other components are attached. There are many different types of drone frames available, from light and cheap wooden frames to strong and durable carbon fibre frames. The type of frame you decide to use will depend on your drone’s purpose.
- Motors: Motor is another name for the rotors attached to the drone frame. There are different types of motors available, such as brushed and brushless motors. It’s important to choose the right motor for your drone frame. You will need to decide between brushed and brushless motors. Brushed motors are cheaper and simpler but don’t last long as brushless motors do.
- Propellers: Propellers are the spinning blades attached to the motors. The number and size of these blades will depend on the drone frame you use. It’s important to get the right size and number of propellers for your drone frame.
- Electronic Speed Controller (ESC): The ESC is the device that helps control the speed of the drone’s rotors. It ensures that the rotors spin at the right speed and power. The ESC will also help in controlling the direction of the drone.
- Flight Controller: The flight controller is the device that helps the drone navigate through the air. It consists of multiple sensors that help the drone stay stable in the air. It also helps in the direction and speed of the drone. It communicates with the flight controller via wires or a wireless connection.
- Radio Transmitter and Receiver: The transmitter and receiver are the parts of the drone that help in communication between the pilot and the drone. They are used to control the flight and direction of the drone from a distance. You will need to decide between an analog or a digital transmitter.
Assembling the Drone Frame
The first step in building a drone is to assemble the drone frame. The frame is the part of the drone that holds everything together. It is important to choose the right frame for your drone. There are many different types of frames available, each with its own advantages and disadvantages. Wood, carbon fibre and steel are some of the most common materials used to make a drone frame. There are many online guides and tutorials that can help you learn how to assemble a drone frame. You can also find build-your-own drone kits that come with all the necessary parts and tools. Beginners can find it easier to start with a premade drone frame and add their own customizations.
Connecting the Motors and Propellers
The next step in building a drone is to connect the motors and propellers. This can be done by mounting them to the frame and securing them with nuts, bolts and washers. Remember that the number and size of the propellers will depend on the frame you use. You should always make sure that the propellers are facing in the correct direction. The propellers should be positioned with the outside edges facing the frame and the inside edges facing the centre of the frame. Before you connect the propellers to the motors, you need to make sure that the blades are clean and free of debris and oil. You should never touch the moving parts of the motor with your hands. Always use a clean, dry cloth to handle the parts.
Installing the Electronic Speed Controllers
The next step in building a drone is to install the ESCs. The ESCs are installed between the frame and the motors. You should make sure that the red and black wires from the ESCs are connected to the red and black wires from the motors. The white wires from the ESCs should be connected to the positive wires from the battery. Be sure to use fuses or circuit breakers in the ESCs. You should never connect the white wires directly to the battery. Make sure that the rotors spin in the correct direction. There are usually markings on the ESCs that show the direction of rotation. If you are using a Y-shaped ESC, you should install the ESCs with the Y facing in the same direction.
Installing the Flight Controller
The flight controller is the main controller of your drone. It helps in communication between the pilot and the drone. You can attach the flight controller to the frame using the mounting hardware. Make sure you carefully follow the instructions given in the manual. You should never connect the flight controller to the battery while it is outside the frame. You should also remove any wires or parts from the frame that can interfere with the flight controller.
Setting Up the Radio Transmitter and Receiver
Next, you need to set up the radio transmitter and receiver. You can do this by connecting the appropriate wires to the controller. The first step is to connect the battery to the controller. You can do this by attaching the wires from the battery to the wires from the controller. You should always use a fuse between the positive and negative wires from the battery. You can also use a circuit breaker in this connection. Before connecting the wires from the controller, you need to set the controls on the radio transmitter. You can do this by pressing and holding a button while moving the control stick. The radio transmitter will make a beeping sound when the controls are set. The order in which you connect the wires from the controller to the radio transmitter matters.
Programming the Flight Controller
Next, you need to program the flight controller. There is multiple flight control software available online that can help you with this process. Some of the most popular software are Mission Planner, CleanFlight and iFlight. You can either use a computer or a mobile device to program the flight controller. Make sure the flight controller is connected to the computer or the device via a USB cable or a wireless connection. You should always start by checking the connection and the parameters for the flight controller. The throttle min and max values will help you in setting the throttle range. The PID values will help you in setting up the accelerometer, gyroscope, and the compass. The modes will help you in setting up the different modes of the flight controller. The rates will help you in setting the sensitivity of the controls. You can save the settings when you are done.
Testing and Troubleshooting
When you have completed all the steps above, you need to test and troubleshoot your drone. You can use a voltage and current meter to test the voltage and current of the battery. The motor of each rotor should spin in the correct direction. The flight controller should receive the data from the radio transmitter. You should always start the drone in an open space away from other objects. You should never fly your drone in areas where there are a lot of people or buildings. You should also keep a safe distance from other people and vehicles.


.png?size=50)

